


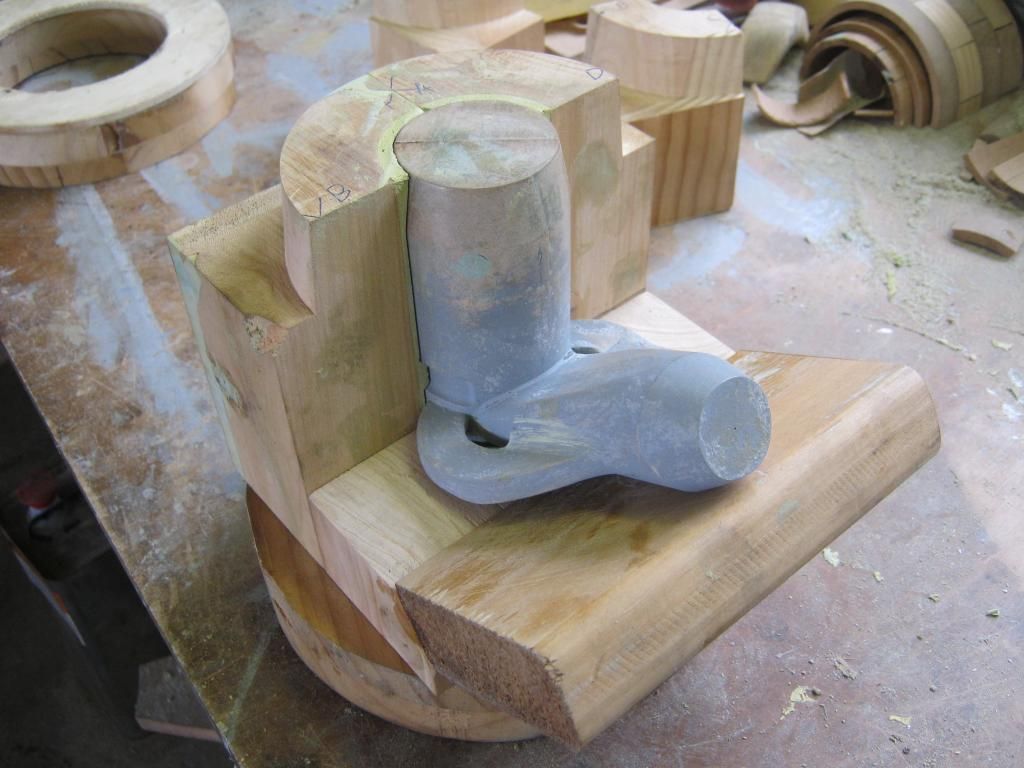
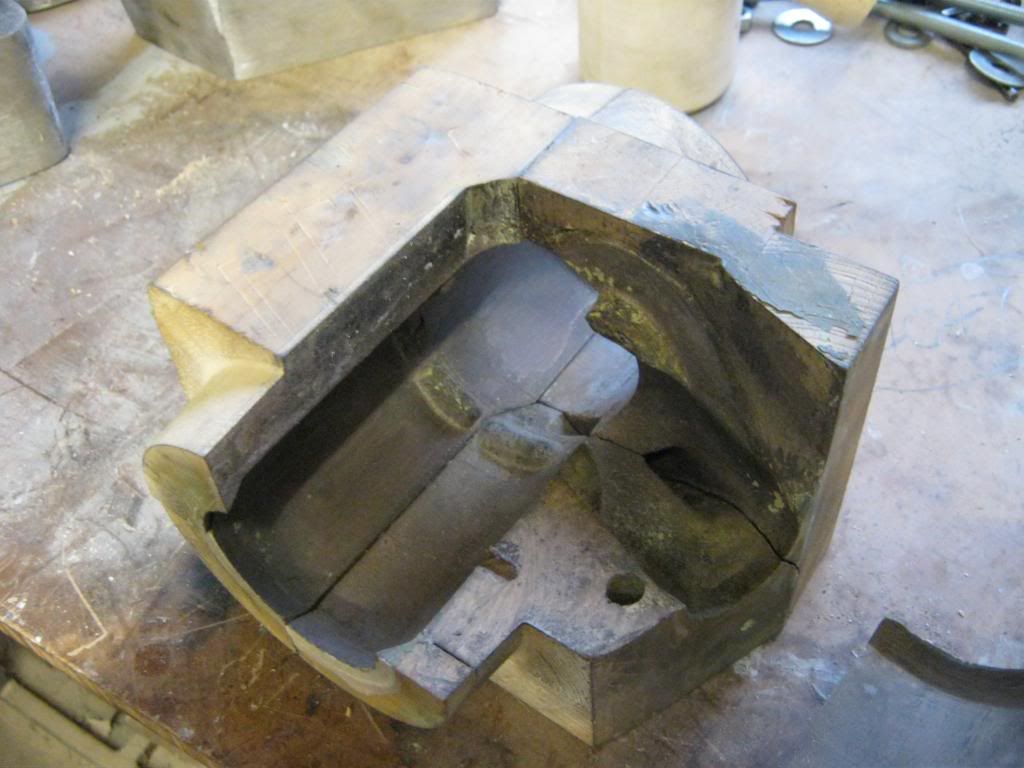
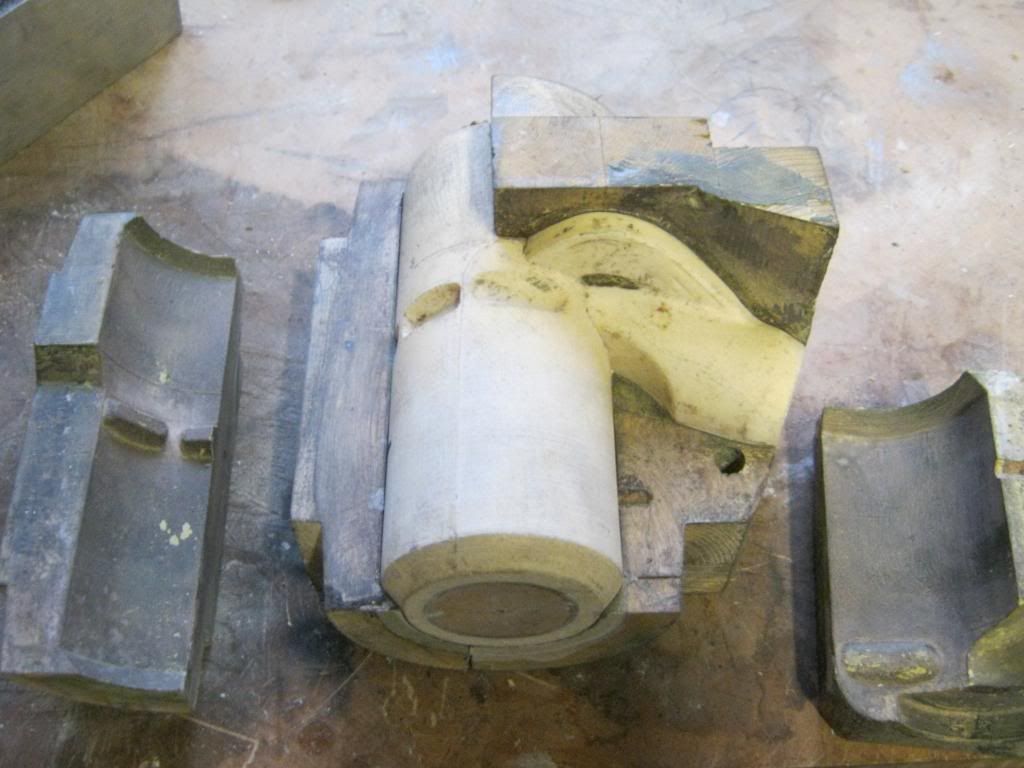
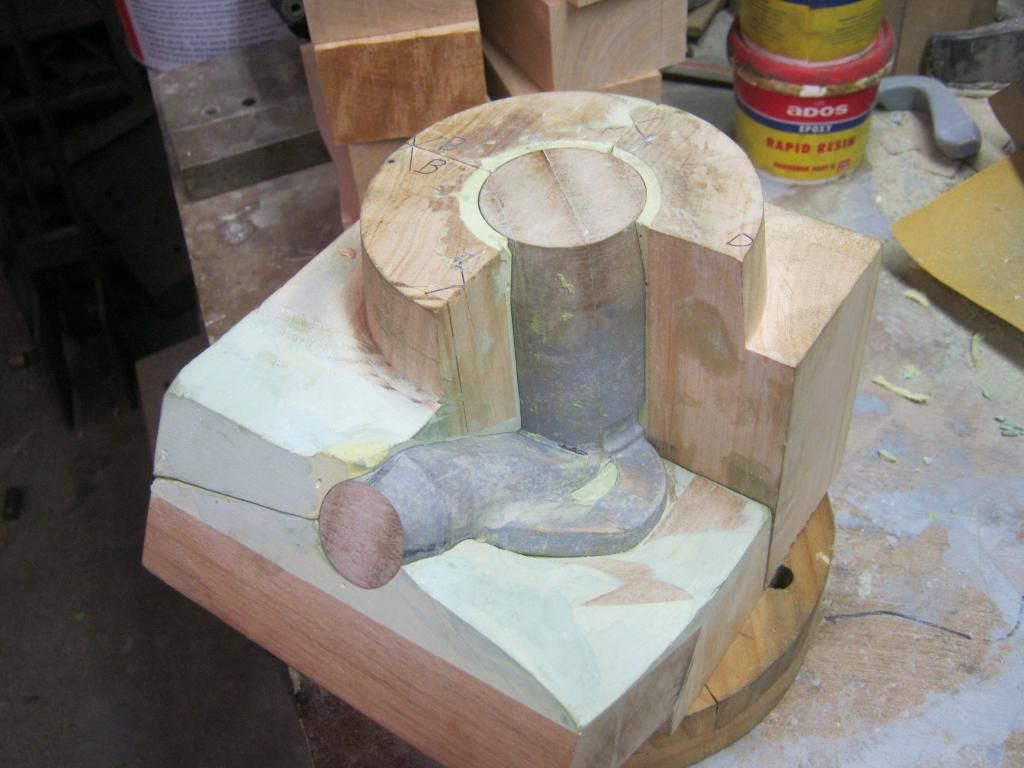
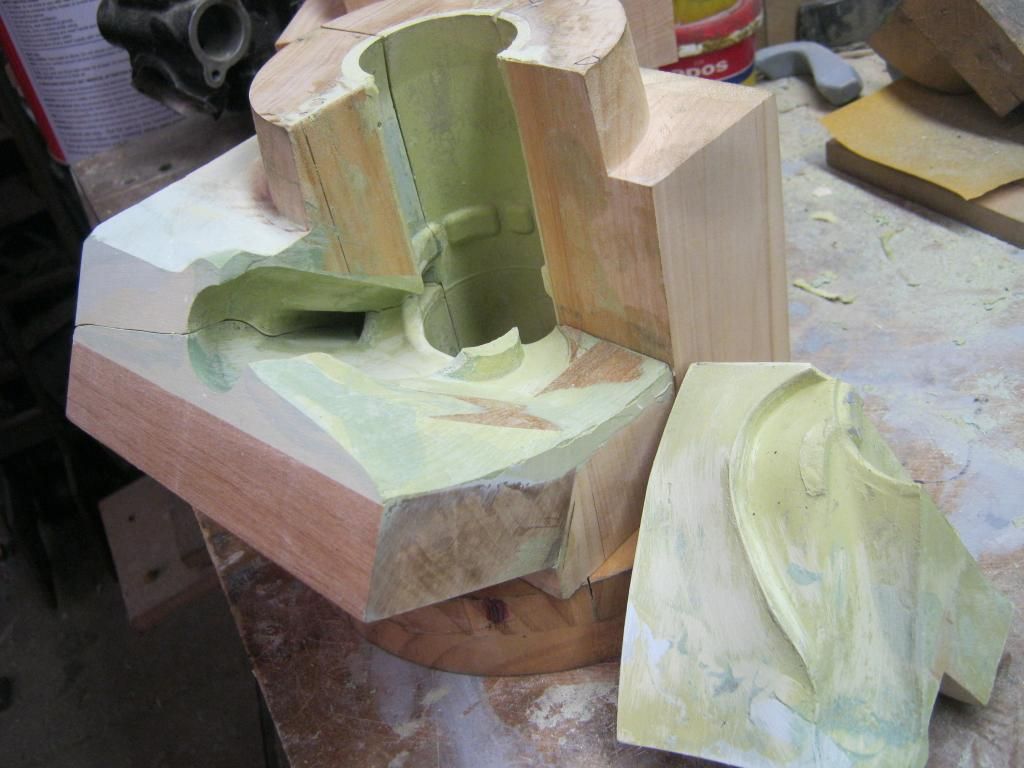
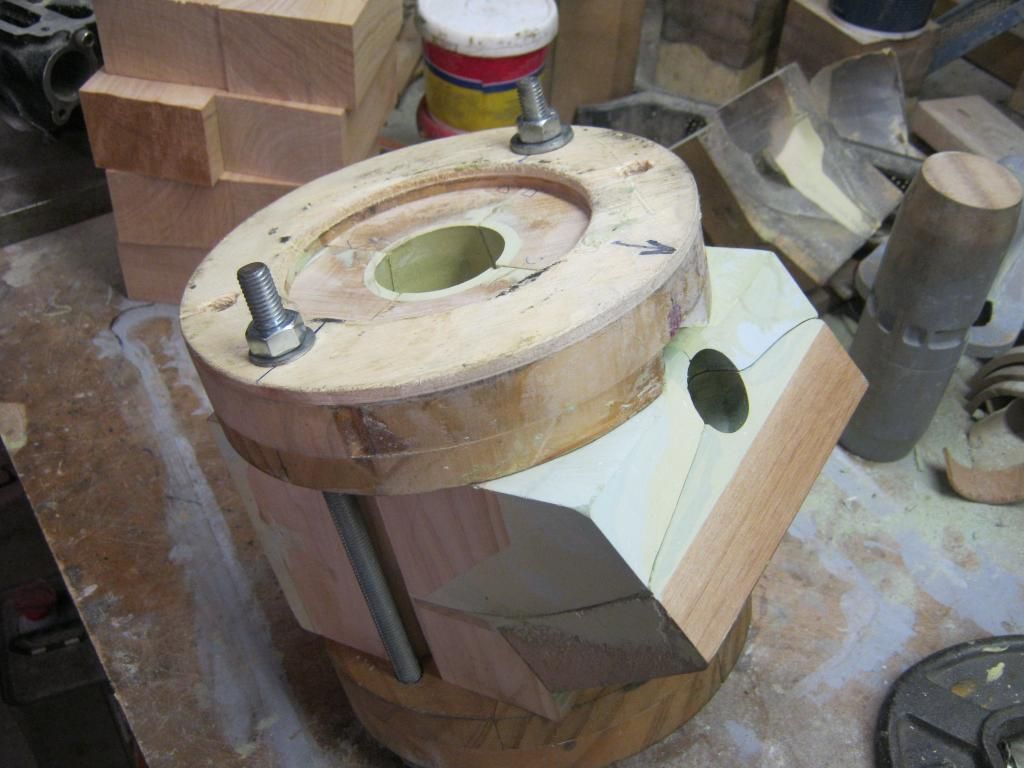
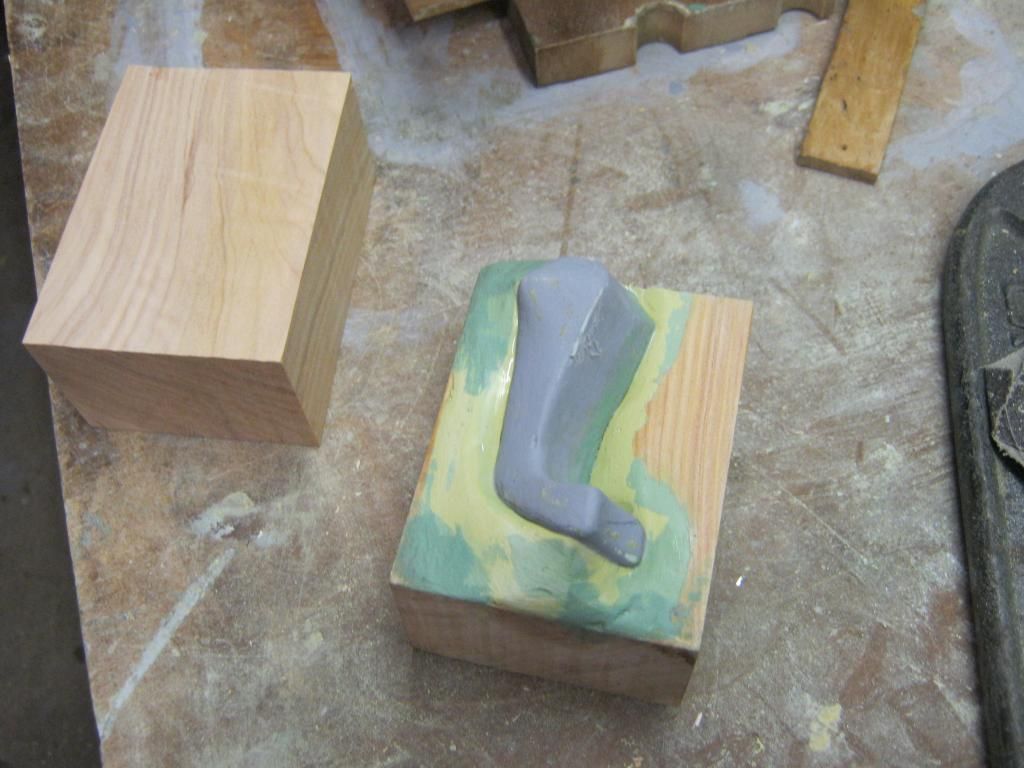
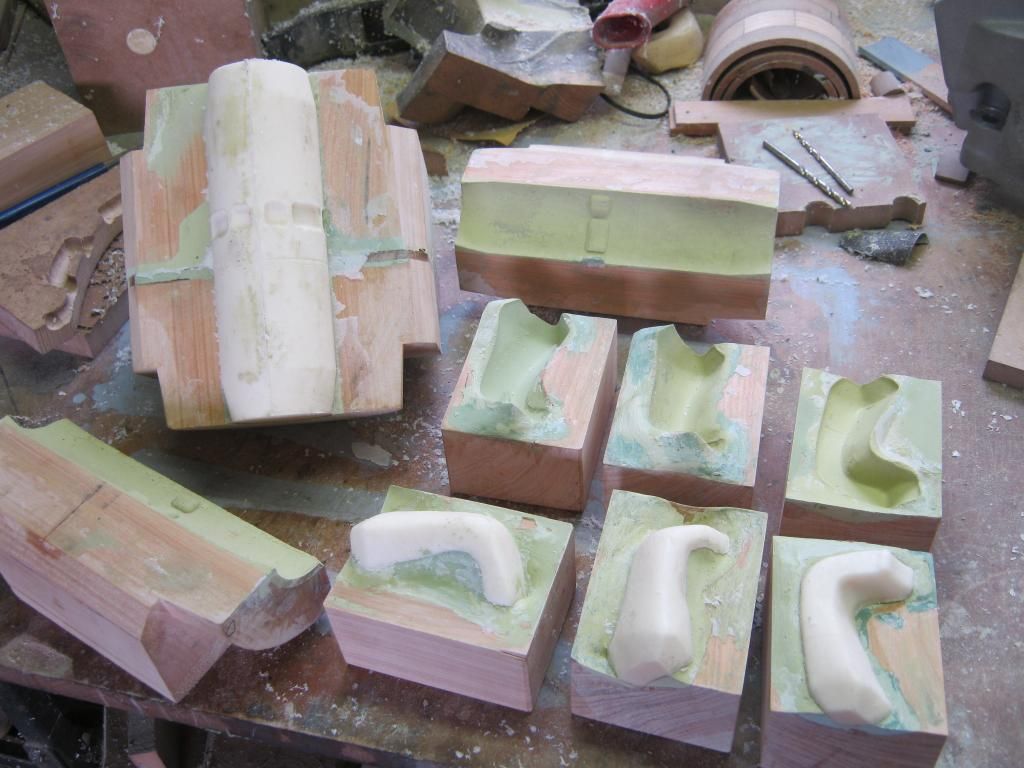
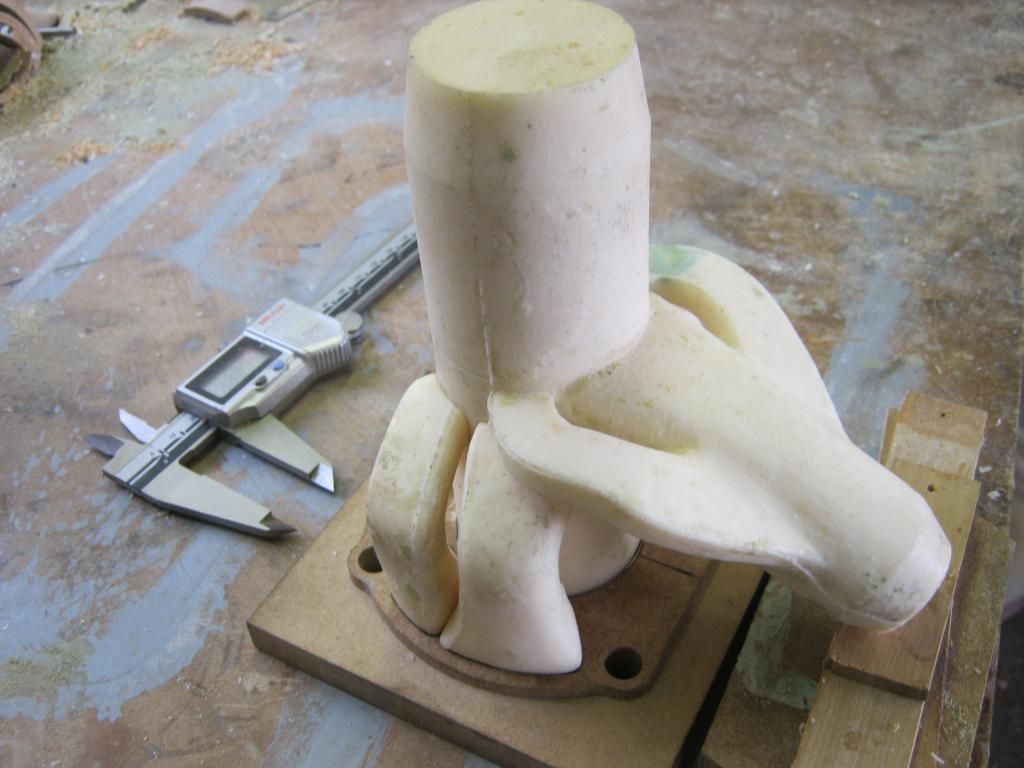
I'm thinking it must take a lot of back to front thinking! but I guess it becomes easier when you've had a lot of practice.
However, I certainly won't be taking on making complicated cores like that for a while!
Will you be making any of the cores (ports) as separate pieces to be glued in place to the main core later?

 Reply With Quote
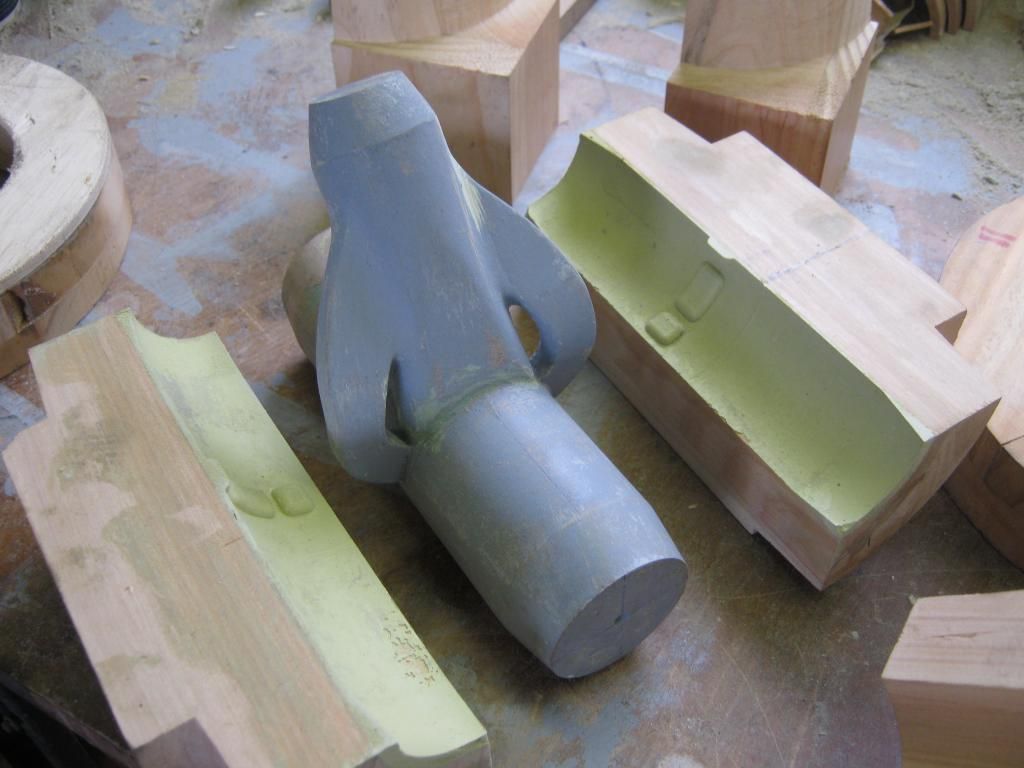


Bookmarks